Adding an image to a PDF should not require a desktop app, a subscription, or a file conversion workaround. If you have a browser, you already have everything you need.
This guide walks through inserting images into any PDF using PainlessPDF, a free browser-based editor that works without downloads or account creation.
When you might need this
- Adding a logo or signature to a contract
- Inserting a chart or screenshot into a report
- Placing a photo into a form or application
- Overlaying a stamp or watermark on a finished document
How to add an image to a PDF
1. Open your PDF
Go to the PainlessPDF editor and drag your file onto the page, or click to browse. Your document loads into the editor, ready to work on.
2. Select the image tool
In the toolbar, click the Image button (or press I on your keyboard). A floating bar appears at the top of the page with an Add image button. If the PDF already contains images, the bar shows how many were detected.

3. Add your image
Click Add image in the floating bar. A file picker opens where you can select a PNG, JPG, or WebP file (up to 10 MB). The image is placed in the center of the current page automatically.

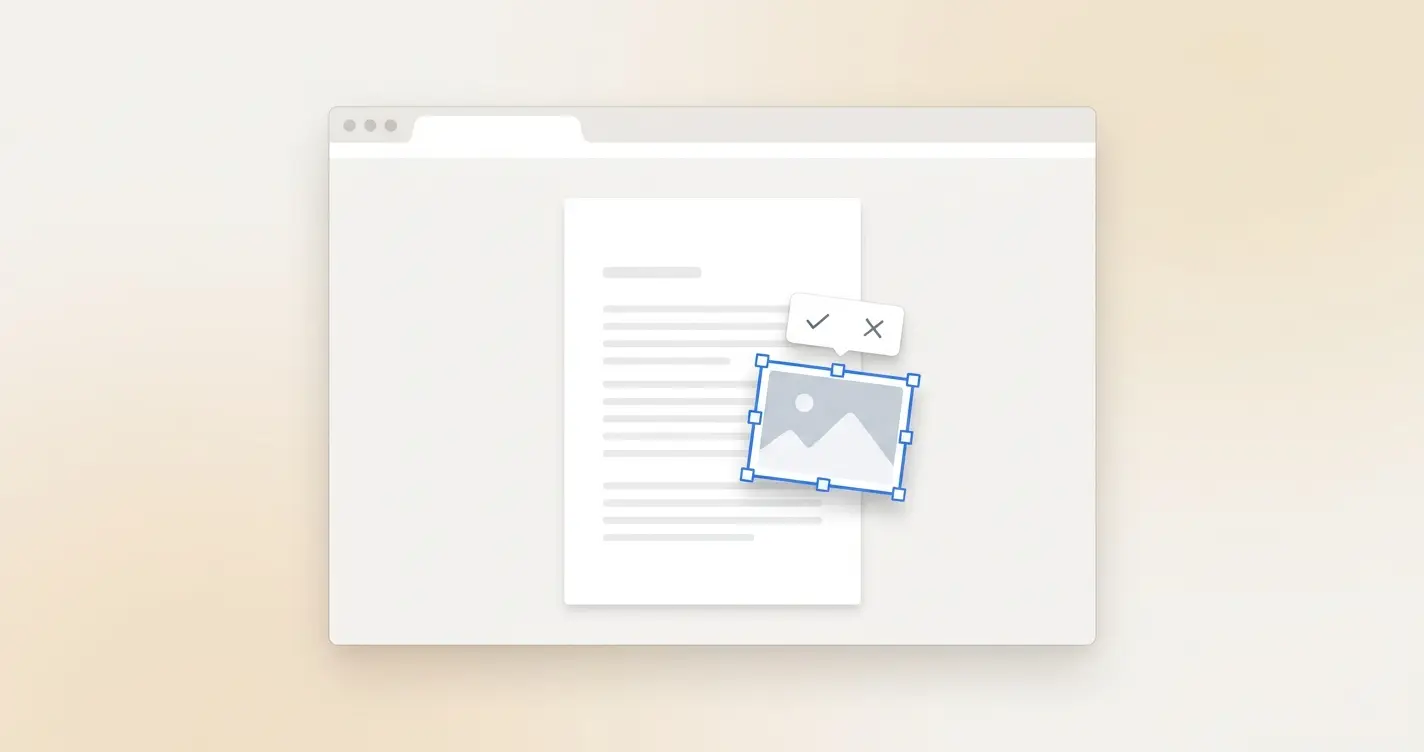
4. Position and resize
Drag the image to move it. Snap guides appear to help you align with other content on the page. Drag any corner handle to resize while keeping the aspect ratio. When you are happy with the placement, click the green checkmark to confirm, or press the X to undo.
5. Download your PDF
Click the Download button in the top-right corner. Your image is embedded directly into the PDF file, not flattened or rasterized.
Tips for better results
- Use PNG for logos and graphics. The transparent background blends naturally with your document.
- Use JPG for photos. Smaller file size, and the compression artifacts are less noticeable at print resolution.
- Resize before inserting if your source image is very large. A 6000px photo will work, but a pre-cropped version will keep the final PDF lean.
- Zoom in before placing the image if you need precise positioning near text or table borders.
What about scanned PDFs?
Scanned documents are just images wrapped in a PDF container. You can still add images on top of them. The process is exactly the same. The image sits as a new layer above the scanned page.
Why browser-based editing matters
Desktop PDF editors are heavy, expensive, and often require annual licenses. Most people need to add an image to a PDF once or twice a month, not often enough to justify a dedicated app.
Browser-based tools solve this by giving you the capability on demand, with zero setup. There is nothing to install, no account to create, and no watermark on the result.
The best tool is the one you do not have to install.
PainlessPDF is free, works in any modern browser, and handles image insertion alongside text editing, highlighting, and annotation, all without creating an account.